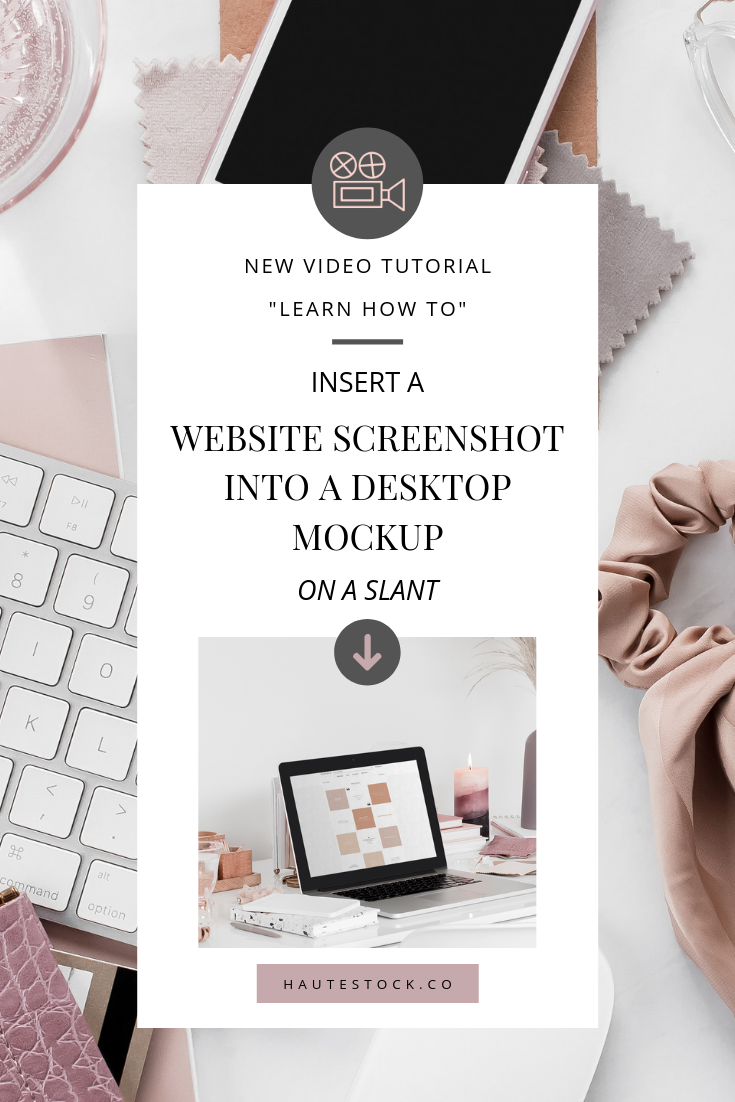
How to Insert A Website Screenshot Into A Desktop Mockup On A Slant
Getting back into the swing of things with your business means the need to create more content!
This tutorial is all about approaching a desktop mockup graphic (which we’ve shown you how to do here) at a refreshing and new angle!
YOU’LL LEARN HOW TO USE PHOTOSHOP TO CREATE A SLANTED WEBSITE MOCKUP BY:
Picking the correct dimensions for your document in Photoshop
Setting up your background image
Creating a smart object overtop the laptop screen in the image
Distorting and reshaping the smart object to match the background image
Capturing a screenshot of your website for the mockup
Inserting & distorting your screenshot into the smart object layer
Cropping your screenshot to the smart object shape using a clipping mask
Adjusting opacity for realism
Adding layer styles to your screenshot mockup to create gradients, patterns and different blending modes & opacity to make your screen blend in with your image
Exporting your file as a png
WATCH THE TUTORIAL VIDEO NOW

Get your hands on photos now & start creating content for your business